


Maybe it was lack of time, commitment, space, or apprehension.
But still there was something missing in my approach. I made myself espresso, coffee in general.
I had everything, but…. It was time to fill that gap.
So, one day on an espresso forum I read of someone who had acquired what he thought was a roaster,
but in fact it was a rotary fryer without oil. Admittedly it was very like a Behmor roaster.
So far I had not intended to invest a substantial sum in a roaster and the solution of a popcorn machine attracted me.
I don’t know much about that, but it was the catalyst, I don’t know why.
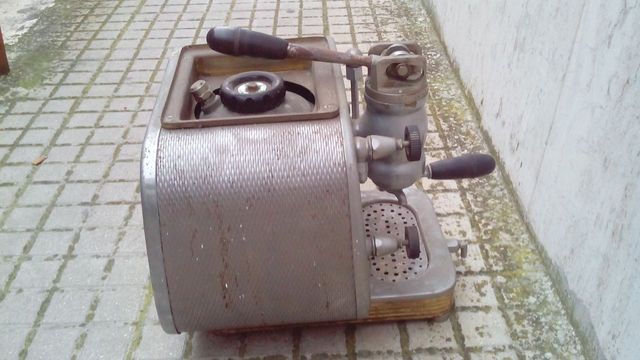
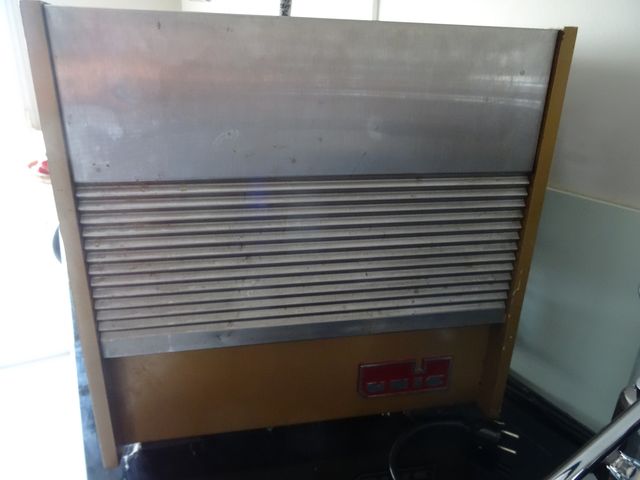
It was time to consult free announcements, so I found myself with a fryer at home in exchange for a handful of small coins.

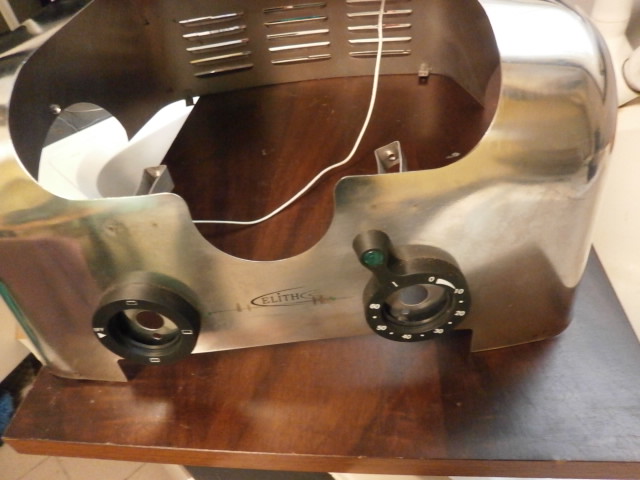
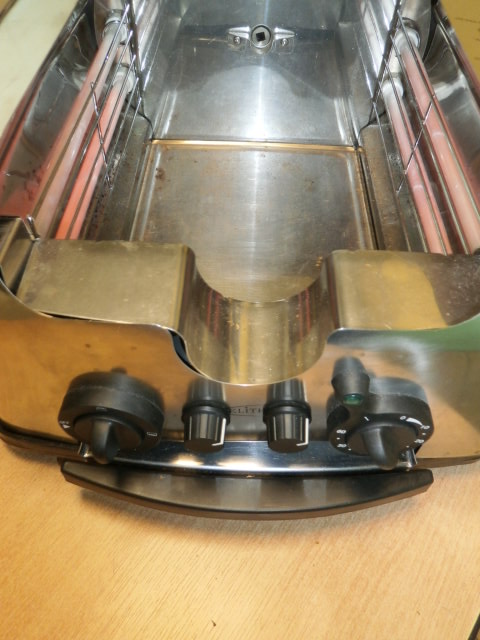
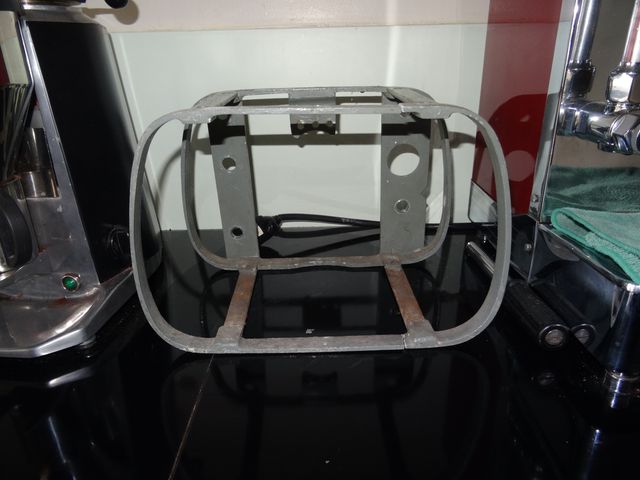
It’s not really discrete, this fryer.
I’ll have to find a place to stash it.
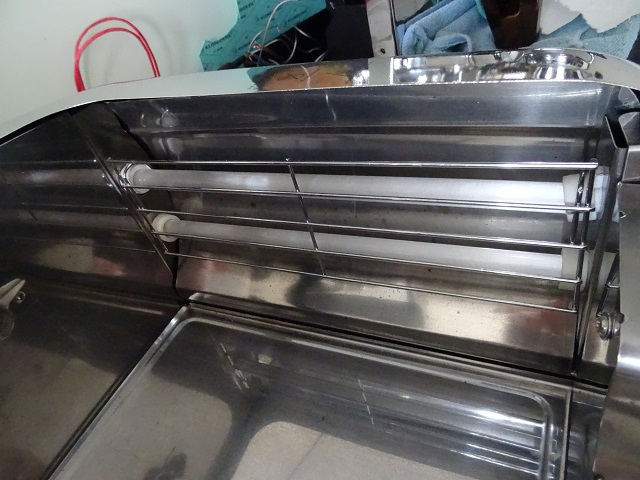

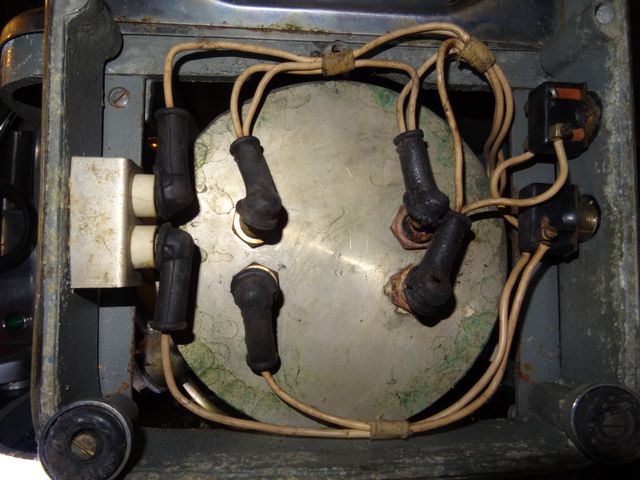
elements on each side.
by a small motor.
the possibility of running the
lower heating elements or the upper
ones or all at once.
This creates interesting
possibilities to manage roasting.
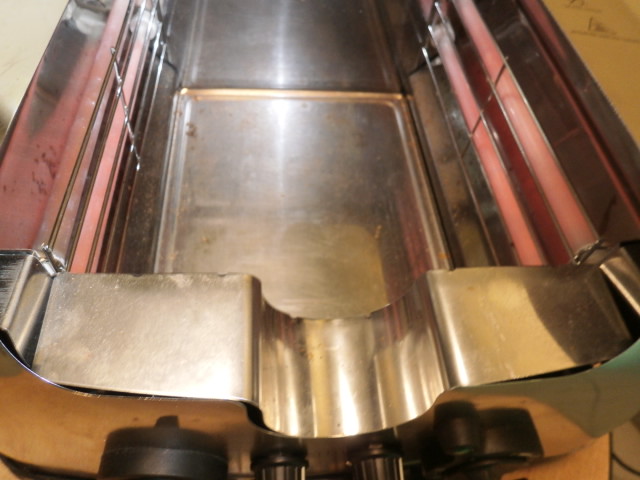
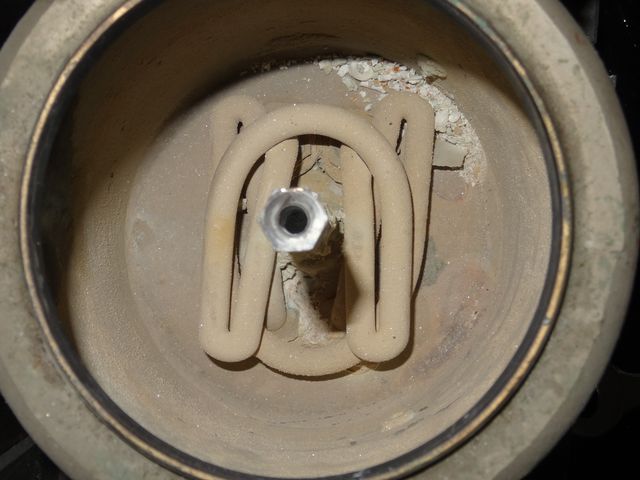
Test
heating.
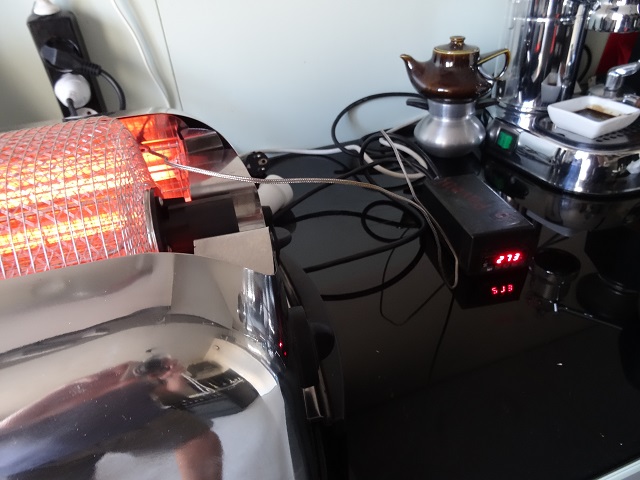
It's
getting warm!
This test was chaotic as it usually is with first attempts.
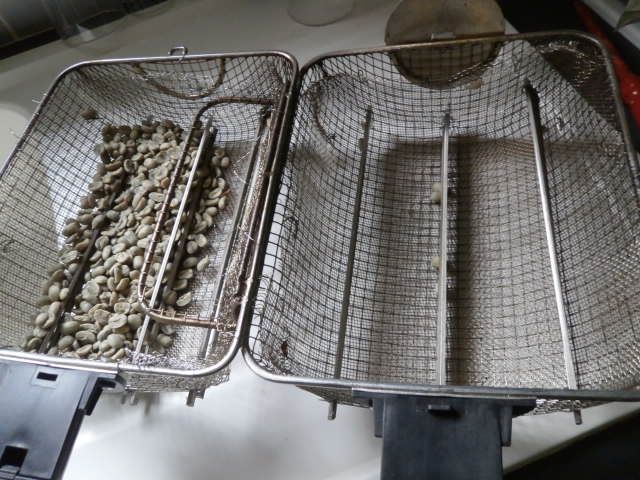
This will certainly require a finer grid because the drum is not designed for frying small coffee beans.
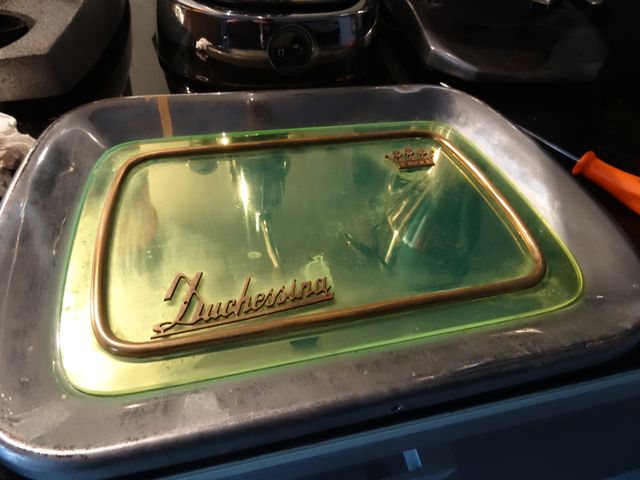
They mischievously escaped and fell out onto the bottom tray. This was a precious loss. Unacceptable.
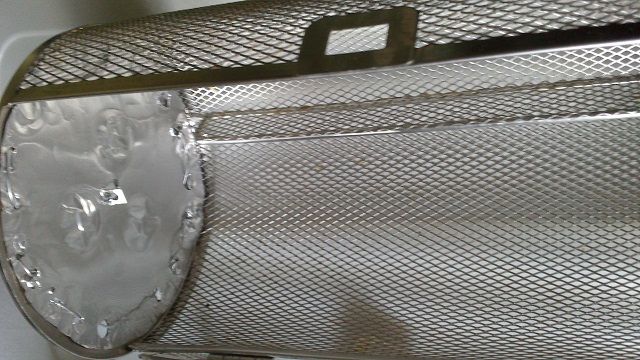
I adapt some mesh from kitchen splatter screens.
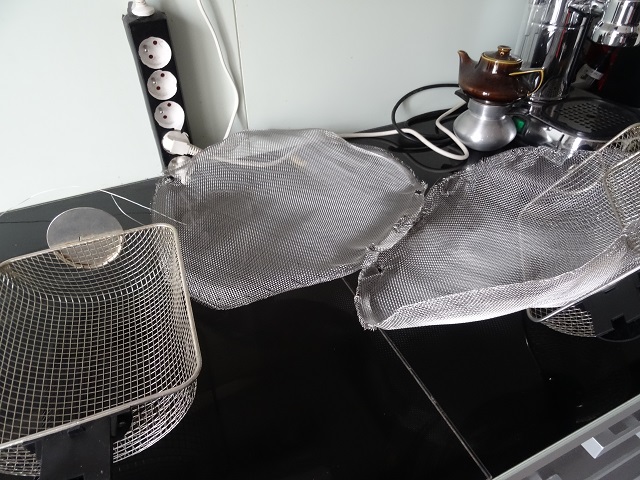

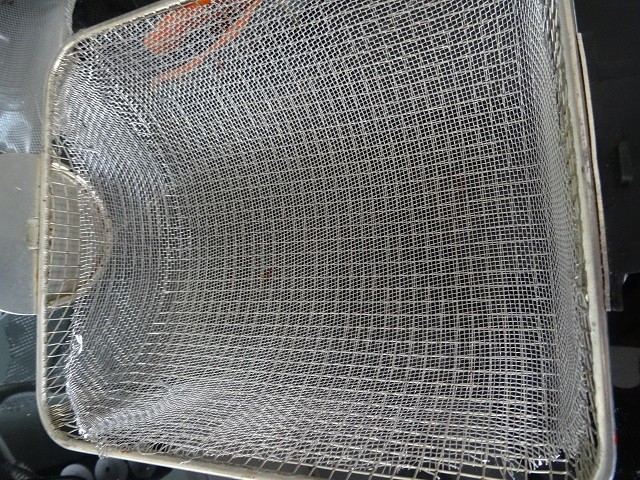


This is yet a very artisanal achievement, but quite effective.
It will require another solution because some beans still get stuck in the grid.
Only a few grains get stuck, but enough to annoy me.
Now for the real adventure, starting to roast….
(There was a roasted 0, but it was zero from every perspective.)
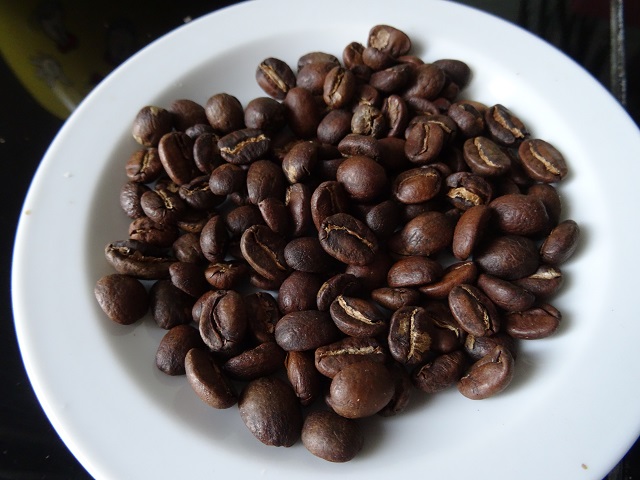
Not knowing what I was doing, I stopped roasting, then applied heat again, and so on.
This yielded nothing worth seeing.
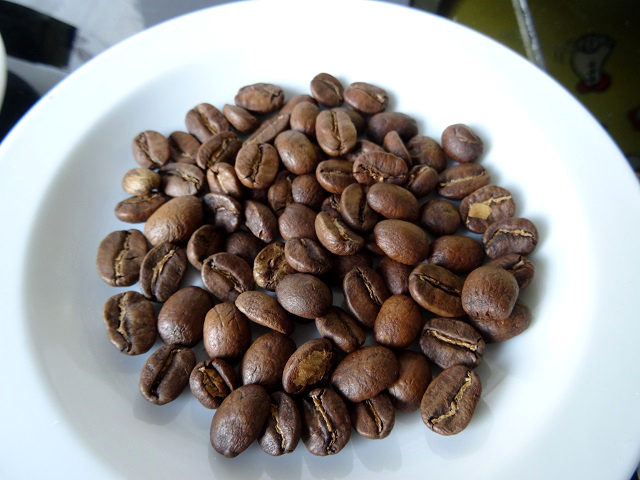
The result must also be viewed with caution. It’s difficult to accurately photograph roasted beans.
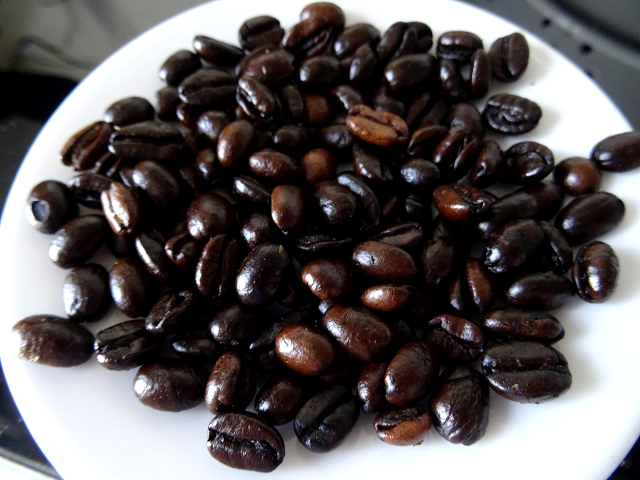
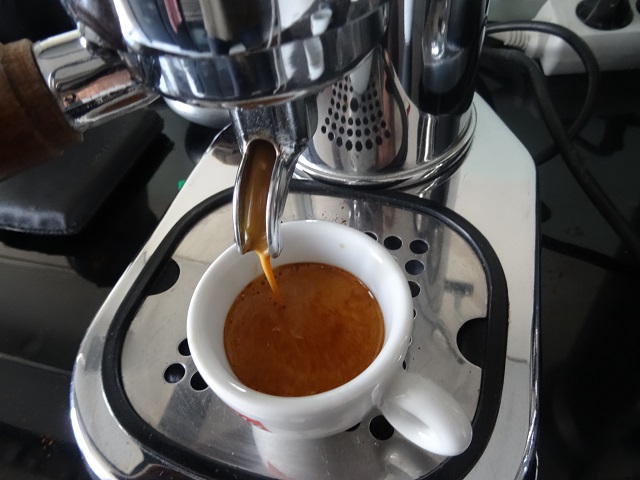
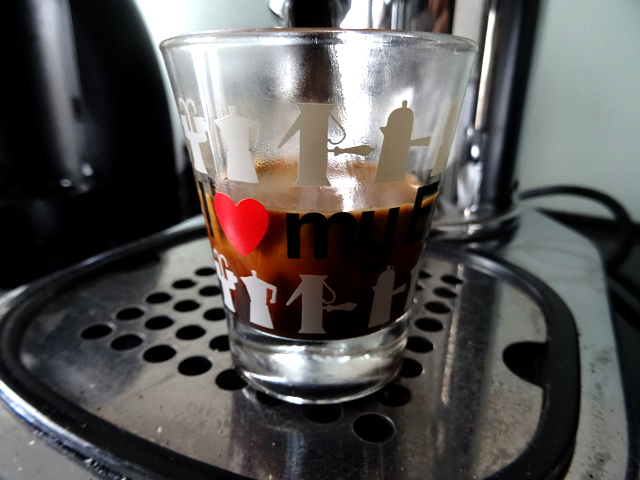
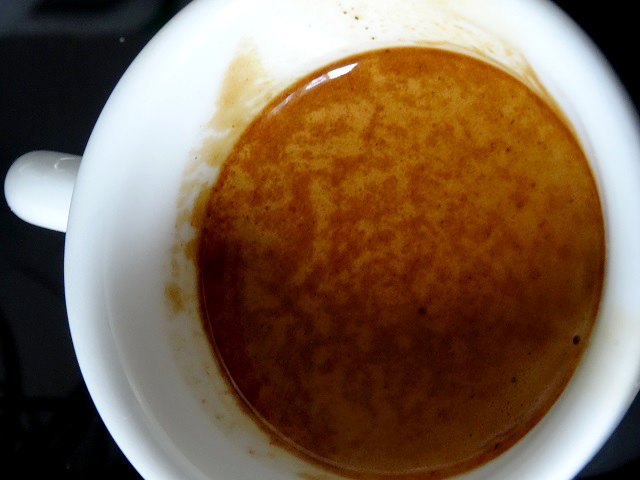
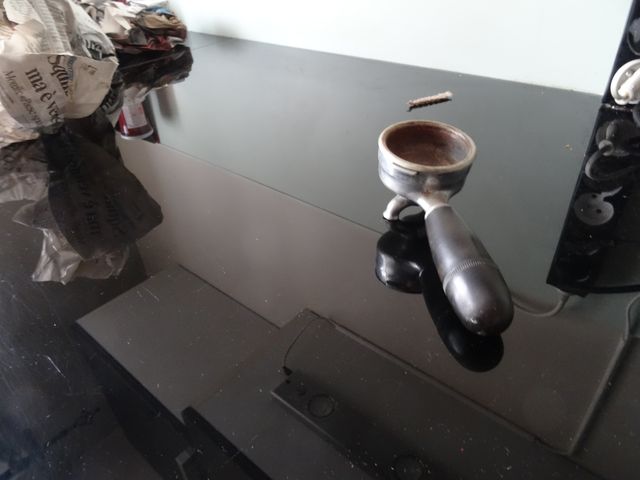
I can finally brew and cup
results that are very promising.

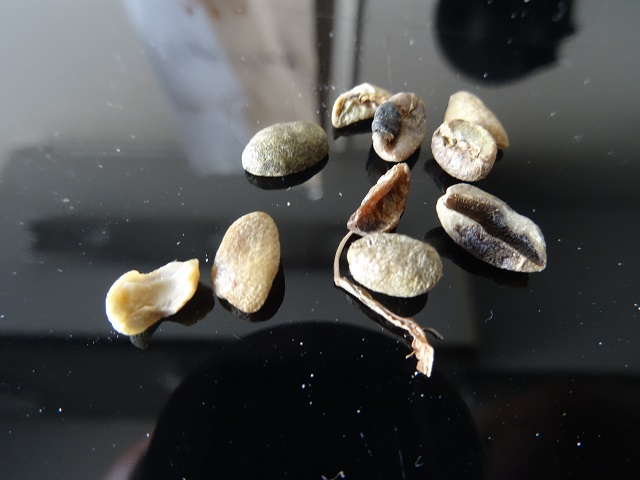
I also discovered that there are strange things in packages of green coffee …
At this stage of my tests I think it is necessary to modify my fryer to adjust some details.
Namely, I need to change the blades. And why not create a real drum, increase the speed of rotation
for better mixing and the ability to adjust the heating elements via an auto tuning controller (PID).
This will be more suitable for roasting.
And to think that I started this to be able to roast at low cost!
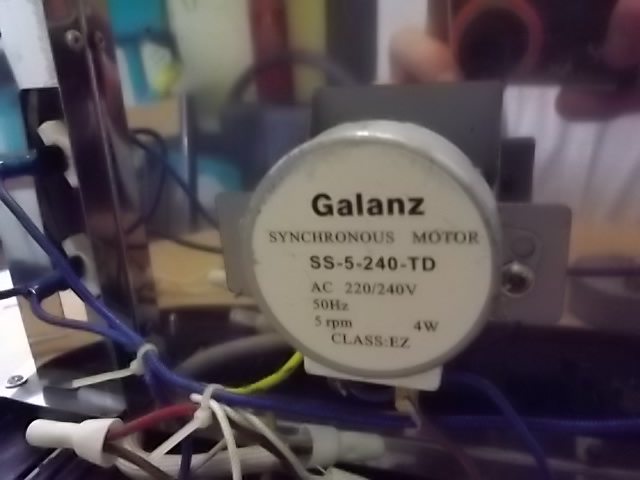
It's funny, If you would have asked my impression of motor speed, I would have said "whew! awfully fast!"
when in fact it was crawling at 2.5 revolutions per minute!
Then I changed to a powerful motor running twice as fast, at 5 rotations per minute!
I finally found a unit that could rotate 30 times per minute, but 4 watts is far too little to drive it loaded with beans.
The rest is another challenge.
At the same time I began to understand the right quantity to roast.
Attempts at 100 gm, 250 gm, until I found the right dose at about 160 gm.
This allows one to roast enough beans anyway, with sufficient uniformity.
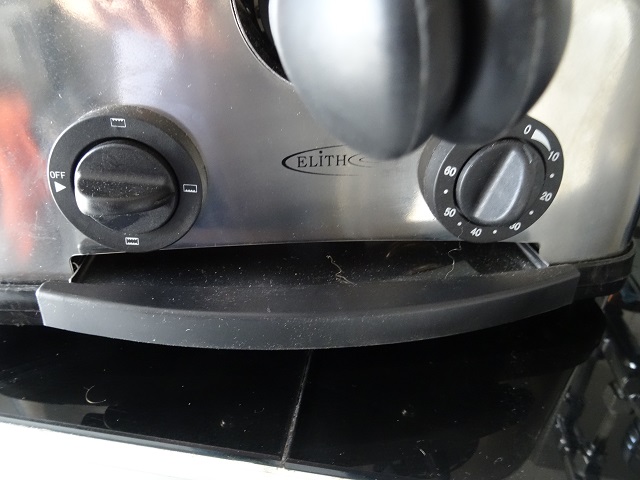
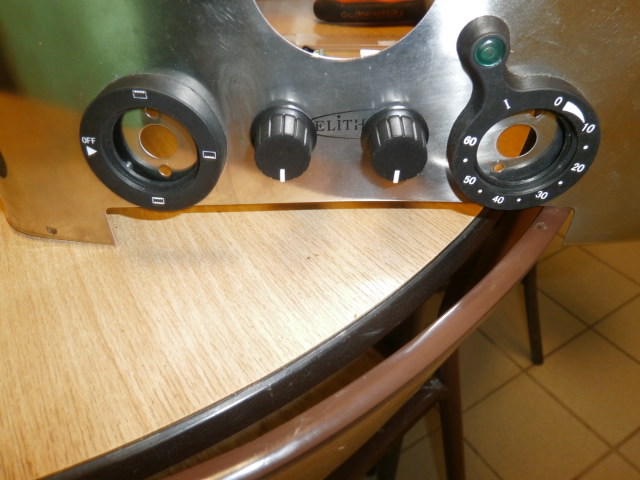
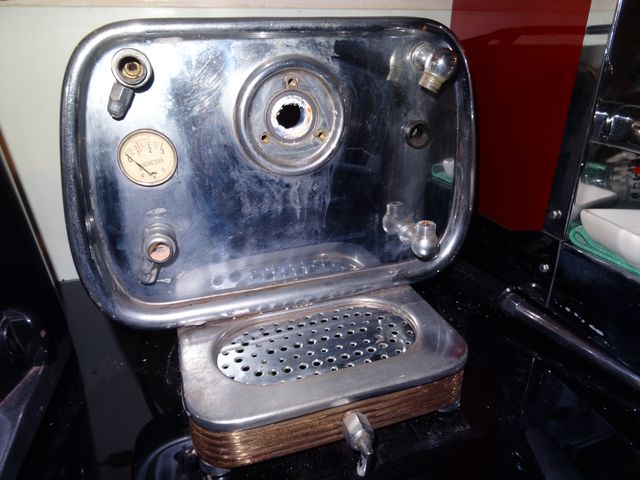
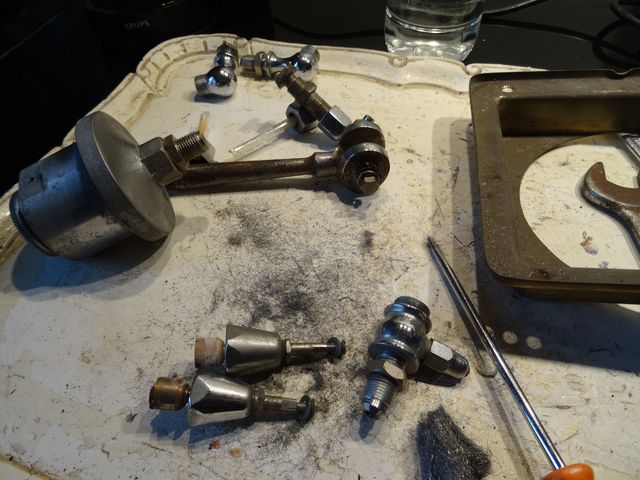
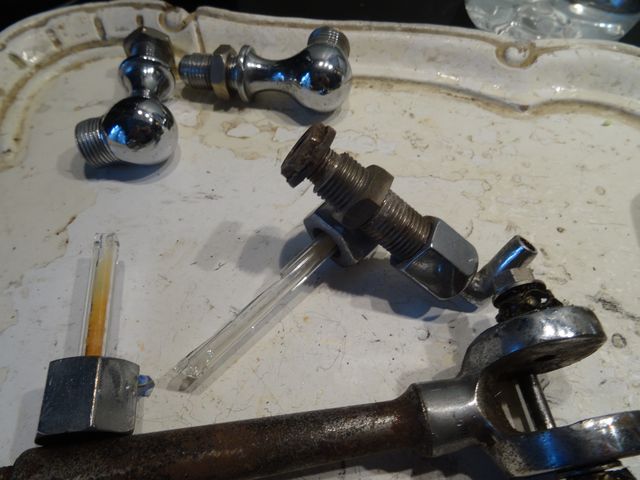
So I mounted the thermometer and timer for easy viewing.

So I turned to the solution of a voltage regulator.

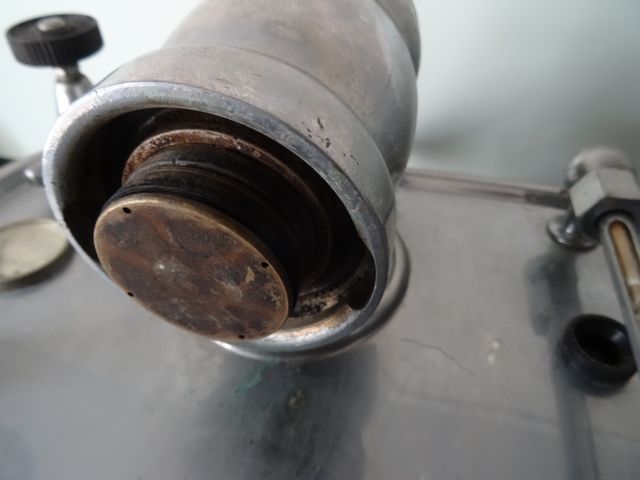
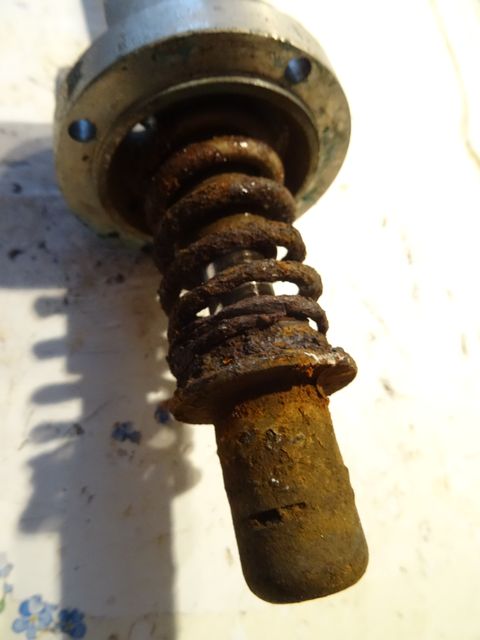
Disassembly can begin.

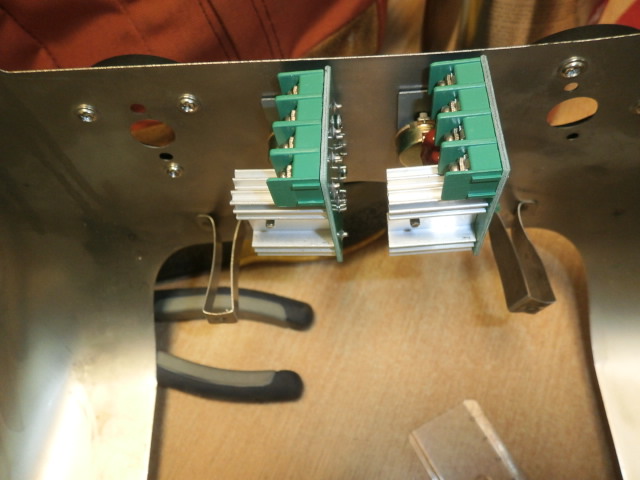


They control heating very well and I find their arrangement very pleasing.

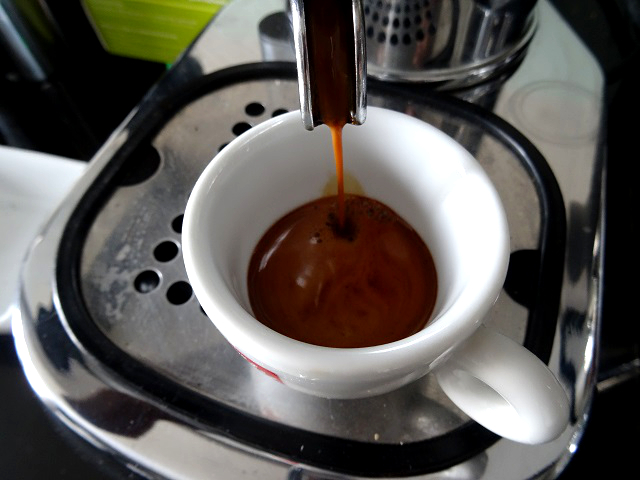
Now I began seriously
to have meaningful results.


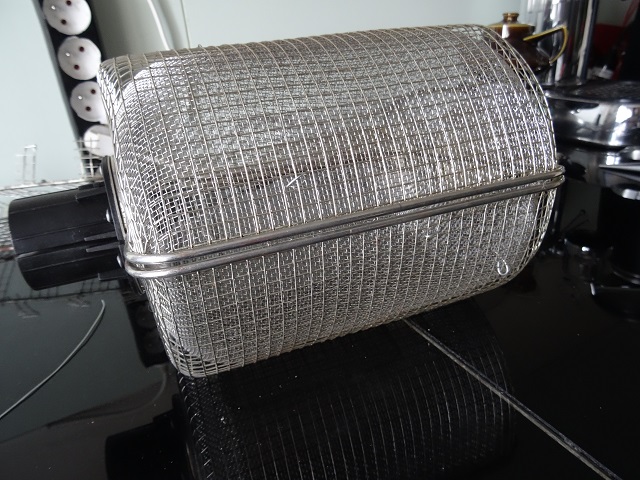
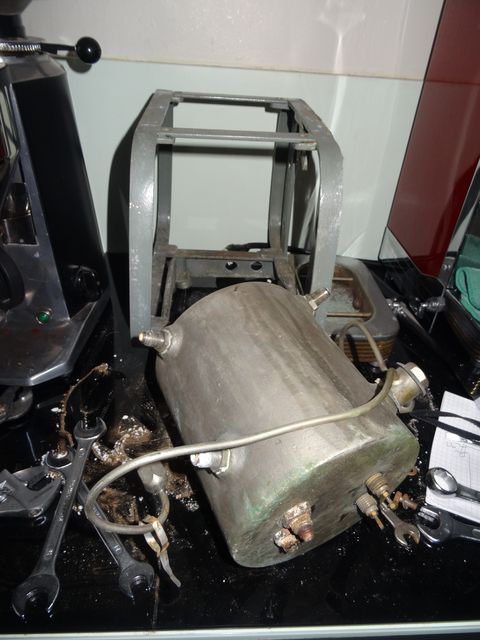
Then I ended up with a drum roaster that seemed well suited to my needs.
This meant that the size of the mesh would be less problematic than the current grid.
The seller only wanted to let go of his drum for a few coins.
But the drum was still at the other end of France.
Super nice!

And by the way, I gained nearly 400 gm weight with this drum!

They are placed so they move the beans from left to right and right to left with each turn.

It’s funny that when I first saw the blades in the photo and compared them to what I had imagined in place,
I realized they must be aimed in the same direction to roast alternately from left to right.
And there is nothing political in this!


I tried 30 rotations in vain; it is not powerful enough to roast a larger load.
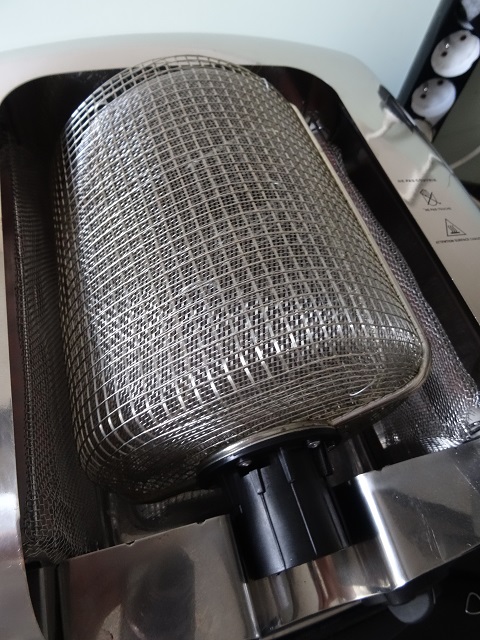
I quickly and easily achieved 70°, which is a significant improvement in efficiency.
I fitted a handful of wood that grabs the end of the drum and allows me to remove it while it is hot without much trouble.
I do not know what may turn up tomorrow, but I'd be surprised if there aren’t yet changes in the future ...


